
Last updated on August 25th, 2026 at 11:58 am
The engine control module manages critical functions within your 2014 Toyota Highlander engine system. Internal processor faults may trigger specific diagnostic trouble codes. When this unit fails, you might experience drivability concerns or communication losses with scan tools during diagnosis.
When your 2014 Toyota Highlander exhibits persistent electronic issues, the engine control module often becomes a primary suspect. Understanding the specific requirements for swapping this component helps you prepare for the repair process accurately. This guide outlines the factory removal steps, labor expectations, and critical programming needs associated with the swap. You will learn where the unit sits within the engine bay and what components must be moved to reach it. Knowing the mandatory registration steps prevents potential complications after installation. We focus on factual labor times and access paths documented for this specific model year. Proper preparation ensures the new unit communicates correctly with your vehicle systems. Reviewing these details helps you anticipate the scope of work involved in restoring full engine management function.
This computer manages fuel delivery and ignition timing for your 2014 Toyota Highlander. It processes data from various sensors to optimize performance and emissions compliance. A malfunctioning unit can disrupt these calculations, leading to poor operation. Technicians often recommend replacement engine computers for the Highlander when internal faults are confirmed. The system relies on stable voltage and secure connections to function properly. Without correct processing power, the engine may not start or run smoothly. This component serves as the central brain for powertrain operations. Ensuring the replacement unit matches factory specifications is vital for long-term reliability. Your vehicle depends on this module for daily drivability and efficiency. Proper identification of the fault prevents unnecessary part replacement elsewhere in the system.
2014 Toyota Highlander
OEM programmed ECM for your 2014 Toyota Highlander — plug & play, no dealer visit.
Free shipping · Lifetime warranty
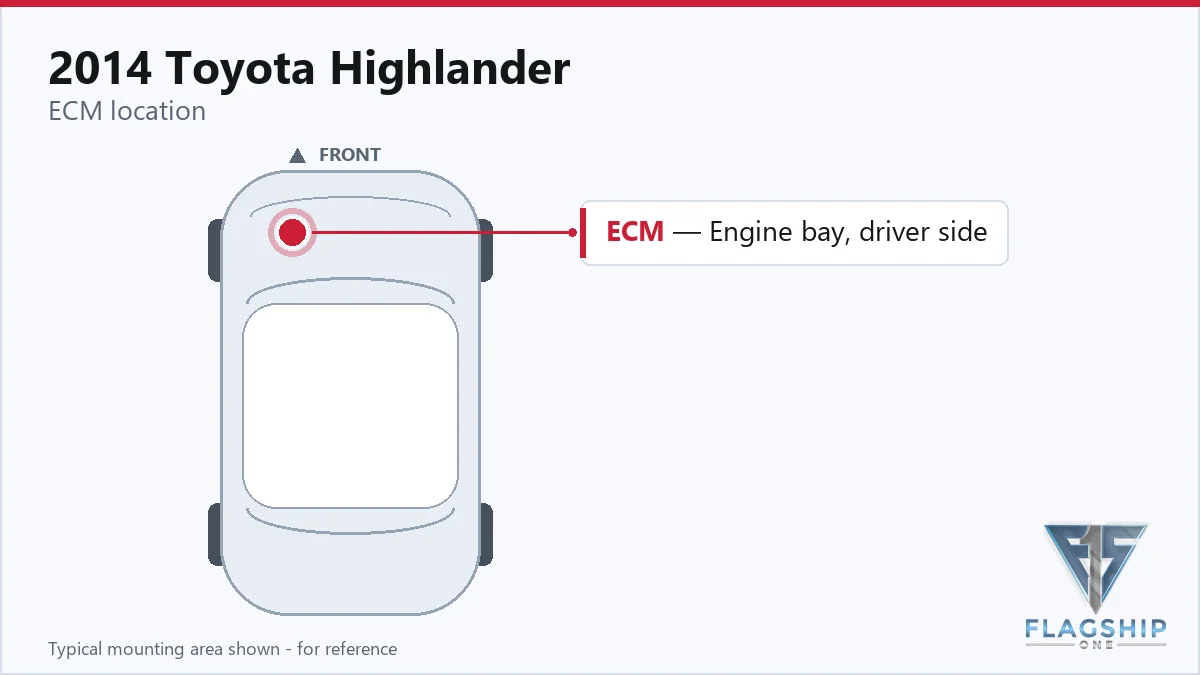
The factory service information places the control module adjacent to the air intake structure. Reaching the unit requires removing several components listed in the access path. You must detach the negative battery lead after waiting a specified time following ignition shutdown. Seals around the radiator and intake ducts also require removal to gain clearance. The air cleaner assembly with its hose must be taken out to expose the computer. Book time for removing and replacing the powertrain control module is 0.7 hours. A separate allowance of 0.5 hours exists for the ECM relearn procedure. Another entry lists 0.7 hours for engine control module removal and replacement. These figures help estimate the labor involved in accessing the mounted hardware. Proper handling prevents damage during the extraction process from the engine bay.
Work with the ignition off, and treat the module as static-sensitive: avoid touching the connector pins at any point.
| Operation | Configuration | Book Time |
|---|---|---|
| Powertrain Control Module R&R | All configurations | 0.7 hr |
| Engine Control Module Relearn | All configurations | 0.5 hr |
| Engine Control Module R&R | All configurations | 0.7 hr |
Factory guidelines state you must complete VIN registration when swapping the ECM. This step ensures the new computer recognizes your specific vehicle configuration. Prior to ECM replacement, consult Registration instructions provided by the manufacturer. Skipping this process may prevent the engine from starting correctly. Flagship One units arrive with this work completed beforehand. You receive a VIN-programmed replacement unit ready for installation. This eliminates the need for specialized tools to write the identity data. The programming step is critical for system integration and security. Having the data pre-loaded simplifies the final installation phase significantly. You can proceed with mounting the hardware without worrying about software initialization. This approach reduces the time spent on diagnostic equipment during the repair.
Common signs of module failure include no-start conditions or unexpected stalling while driving. You might notice misfire codes appearing alongside communication errors with diagnostic scanners. Shifting issues can occur if the transmission data becomes corrupted. Internal processor faults are often linked to internal processor fault code stored in memory. The engine may run rough or fail to enter closed-loop operation. Loss of power or reduced performance modes are also typical indicators. Scan tools may lose connection entirely if the module stops transmitting data. These symptoms suggest the computer is struggling to process sensor inputs correctly. Addressing these signs early prevents further strain on related components. Your vehicle may enter a limp mode to protect the drivetrain from damage.
The following list details module-internal trouble codes documented for this vehicle. These specific faults indicate processing errors within the computer hardware. Reviewing these helps confirm whether the unit requires replacement.
| Code | Meaning | Full Guide |
|---|---|---|
| P0606 | Module processor failure | Full P0606 guide → |
Yes, factory procedures require VIN registration. Flagship One units come pre-programmed.
It is found next to the air cleaner assembly in the engine bay.
Book time for removal and replacement is listed as 0.7 hours.
You can choose between repairing your existing unit or installing a refurbished replacement. Both options restore function to your 2014 Toyota Highlander when done correctly. Refurbished units often provide a faster solution than sending yours out for service. Consider the labor time and programming requirements when deciding on the best path. Your mechanic can help determine which option suits your situation best.
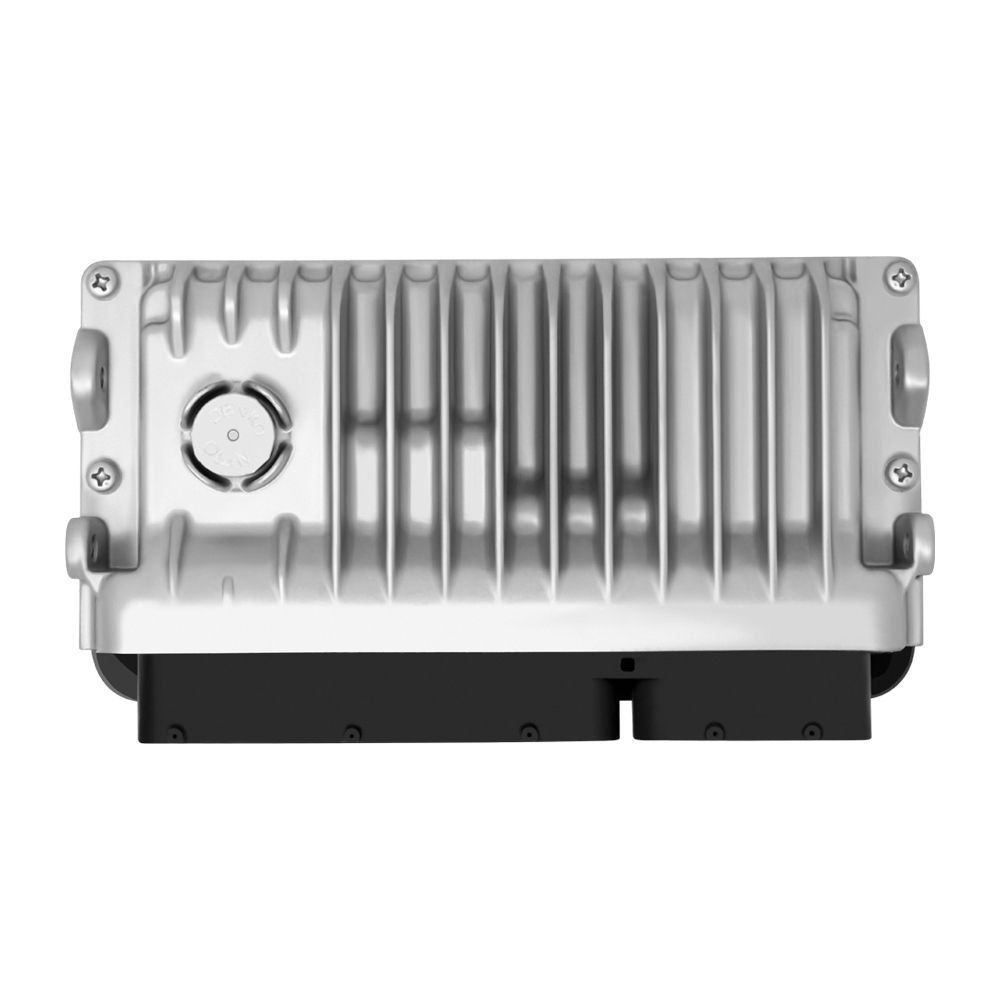
Flagship One stocks a refurbished, VIN-programmed PCM for the 2014 Toyota Highlander with a lifetime warranty, free shipping and no core charge. The full Toyota Highlander module lineup covers other engine configurations as well.
Restoring your 2014 Toyota Highlander requires attention to factory specifications and programming steps. Understanding the labor and access needs helps you plan the repair effectively. Ensure any replacement unit meets the necessary registration requirements for your vehicle. This approach ensures reliable performance after the work is complete.