
Last updated on August 25th, 2026 at 01:04 pm
In the 1991 Mercury Tracer, the Powertrain Control Module manages engine timing, fuel delivery, and emissions functions. A failure typically results in loss of engine control, erratic idle, or complete no‑start conditions, often requiring diagnostic attention and possible replacement.
When a 1991 Mercury Tracer experiences powertrain control issues, the PCM often becomes the focal point of diagnosis. This guide explains what the module does, where it lives, and what steps are typically needed to replace it. You will learn the labor times involved, how the factory programming process works, and what symptoms point to a PCM problem, helping you make an informed decision about repair or replacement.
The Powertrain Control Module in a 1991 Mercury Tracer directs fuel injection, ignition timing, and emission controls, ensuring the engine runs smoothly and meets regulatory standards. It constantly monitors sensor data and adjusts commands to maintain performance. Because the vehicle relies on precise timing, a malfunction can cause drivability issues or prevent the engine from starting. Understanding its role helps you appreciate why a proper replacement is essential, especially when considering replacement engine modules for Tracer during service.
1991 Mercury Tracer
OEM programmed ECM for your 1991 Mercury Tracer — plug & play, no dealer visit.
Free shipping · Lifetime warranty
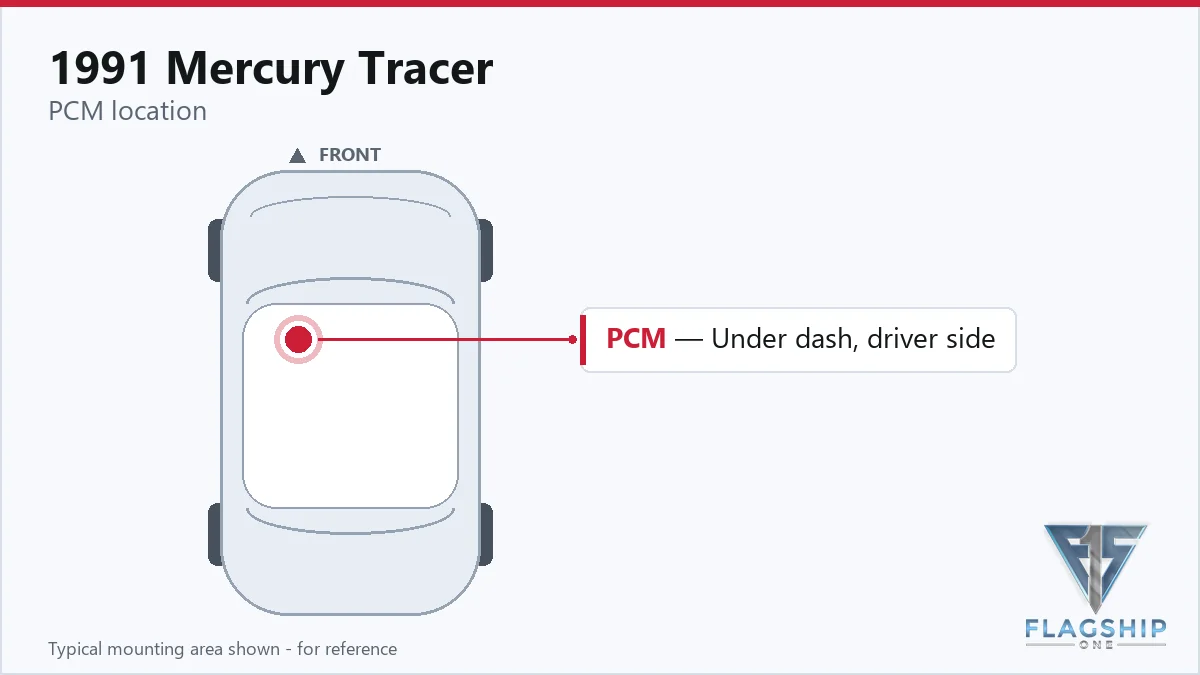
The PCM sits behind the center of the instrument panel in the 1991 Mercury Tracer. To reach it, you first remove the air duct positioned in front of the module. Once the duct is out of the way, the PCM can be accessed for removal or installation. The labor estimate for removing and reinstalling the module is listed as 0.6 hours for the Powertrain Control Module R&R and 0.5 hours for the relearn procedure, reflecting the relatively straightforward access once the duct is cleared.
Work with the ignition off, and treat the module as static-sensitive: avoid touching the connector pins at any point.
| Operation | Configuration | Book Time |
|---|---|---|
| Engine Control Module Relearn | All configurations | 0.5 hr |
| Engine Control Module R&R | 1.8L | 1.0 hr |
| Engine Control Module R&R | 1.9L | 1.1 hr |
| Powertrain Control Module R&R | All configurations | 0.6 hr |
| Powertrain Control Module Relearn | All configurations | 0.5 hr |
After installing a new PCM in a 1991 Mercury Tracer, the factory procedure includes a relearn step that typically requires about half an hour of technician time. Flagship One supplies units that arrive already VIN‑programmed, so the required a VIN-programmed replacement unit eliminates the need for additional on‑site coding, allowing you to move directly to the relearn operation.
Common signs of a failing PCM in a 1991 Mercury Tracer include the engine refusing to start, rough idle, stalling under load, and loss of communication with scan tools. You may also notice unexpected check‑engine lights or shifting irregularities. When the module cannot process sensor data, a diagnostic code such as P0601 communication fault often appears, indicating internal communication problems that warrant further investigation.
Service Bulletin 92-17-01 provides core return instructions for the Ford engine control processor used in this vehicle’s Powertrain Control Module, outlining the remanufacturing program. Bulletin 95-10-02 addresses a malfunction indicator lamp situation related to the distributorless ignition system, revising the ignition control module connector retention clip and seal.
| Bulletin | Subject | What It Addresses |
|---|---|---|
| 92-17-01 | CORE RETURN INSTRUCTIONS – FORD ENGINE CONTROL PROCESSOR – POWERTRAIN CONTROL MODULE – REMANUFA | — |
| 95-10-02 | “MALFUNCTION INDICATOR LAMP” (MIL) ILLUMINATED – DISTRIBUTORLESS IGNITION SYSTEM (DIS) ONLY – I | — |
The book time for removing and reinstalling the Powertrain Control Module is about 0.6 hours, and an additional 0.5 hours is listed for the relearn procedure.
Access mainly requires removing the front air duct to reach the module behind the instrument panel; no specialized tools are noted beyond standard fastener removal.
A VIN‑programmed unit from Flagship One removes the need for on‑vehicle coding, but you will still need to perform the relearn step as defined by the factory procedure.
When the PCM in your 1991 Mercury Tracer fails, you can choose a brand‑new repair or consider a refurbished replacement that meets factory specifications. Both options aim to restore proper engine management, but a refurbished unit may offer a cost‑effective solution while still delivering reliable performance for this model.
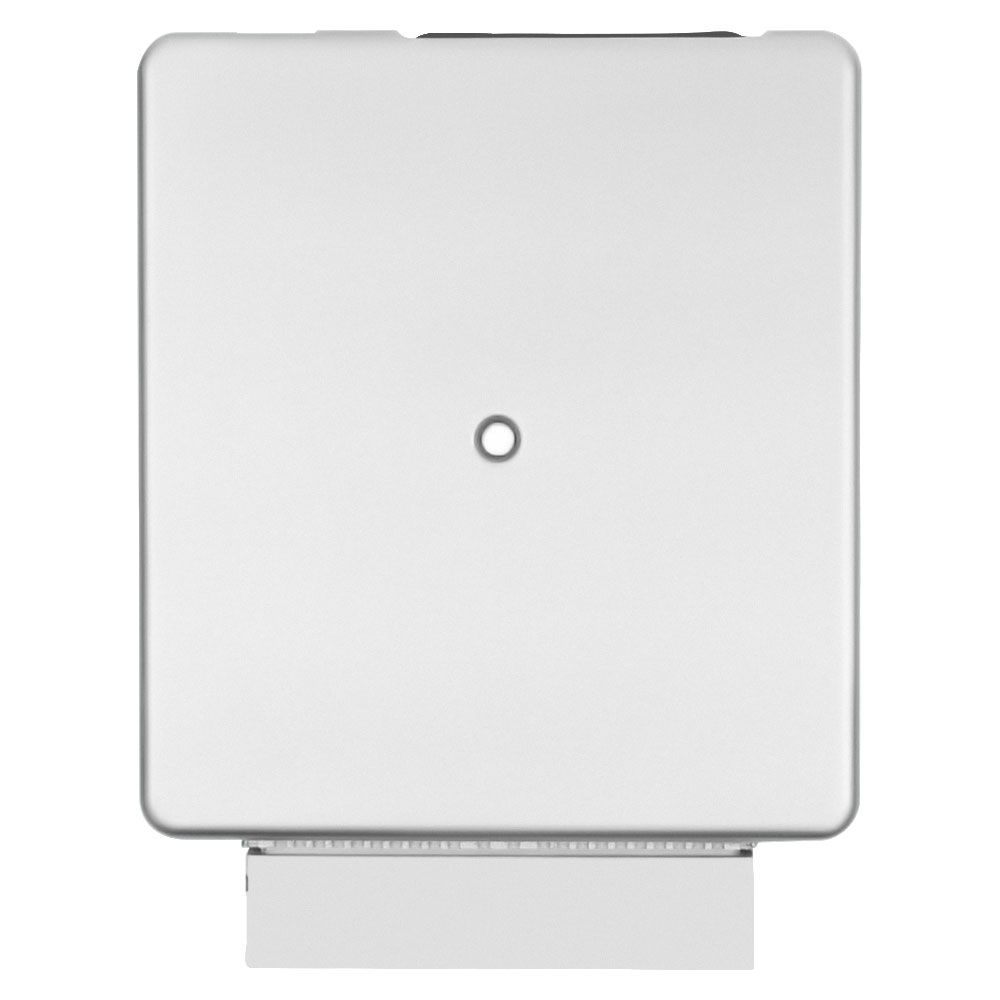
Flagship One stocks a refurbished, VIN-programmed PCM for the 1991 Mercury Tracer with a lifetime warranty, free shipping and no core charge. The full Mercury Tracer module lineup covers other engine configurations as well.
Addressing PCM issues in your 1991 Mercury Tracer promptly can prevent further drivability problems. Whether you opt for a new or refurbished unit, proper installation and the required relearn will help keep your vehicle running smoothly.