
Last updated on August 25th, 2026 at 01:04 pm
In the 1992 Mercury Tracer the Powertrain Control Module manages engine and transmission commands. Failure can cause loss of power, erratic shifting, or a dead diagnostic link, often requiring removal and a factory‑specified relearn.
When the powertrain control module in a 1992 Mercury Tracer begins to act up, the vehicle may exhibit rough idle, shifting irregularities, or loss of engine control. This guide explains where the PCM is located, how long the replacement and relearn procedures usually take, and what you can expect from a Flagship One replacement unit. By the end, you’ll know the steps to remove the module, the required post‑install actions, and how to keep the new unit functioning reliably.
The Powertrain Control Module in a 1992 Mercury Tracer interprets sensor data and commands the fuel, ignition and transmission systems to keep the engine running smoothly. It stores calibration values and communicates with the instrument cluster, making it essential for proper drivability. replacement engine modules for Tracer ensure the vehicle meets original performance specifications after a faulty unit is removed.
1992 Mercury Tracer
OEM programmed ECM for your 1992 Mercury Tracer — plug & play, no dealer visit.
Free shipping · Lifetime warranty
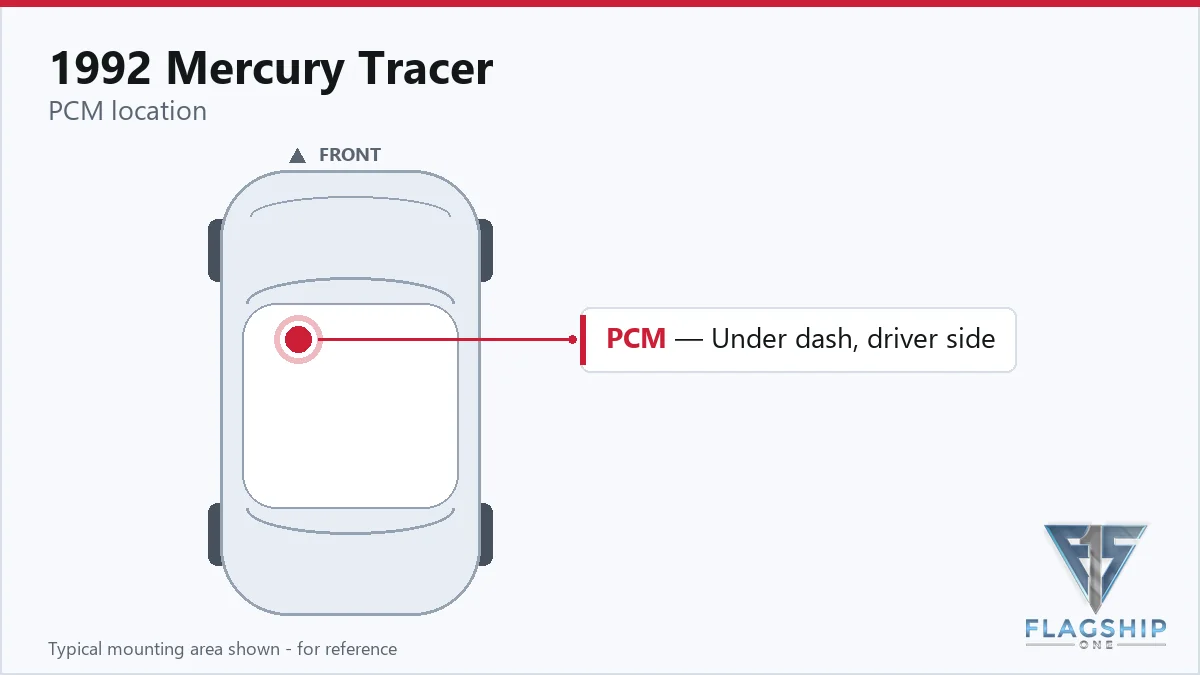
The PCM is positioned behind the center of the instrument panel in the 1992 Mercury Tracer. To reach it, you first remove the air duct that sits in front of the module. Once the duct is out of the way, the PCM can be unbolted and pulled forward. The factory book time for removing and reinstalling the module is listed as 0.6 hours, while the engine control module replacement for the 1.9L engine is noted at 1.1 hours. Proper torque specifications were not provided, so follow the vehicle’s service manual for final tightening.
Work with the ignition off, and treat the module as static-sensitive: avoid touching the connector pins at any point.
| Operation | Configuration | Book Time |
|---|---|---|
| Engine Control Module Relearn | All configurations | 0.5 hr |
| Engine Control Module R&R | 1.8L | 1.0 hr |
| Engine Control Module R&R | 1.9L | 1.1 hr |
| Powertrain Control Module R&R | All configurations | 0.6 hr |
| Powertrain Control Module Relearn | All configurations | 0.5 hr |
After installing a new PCM, the factory procedure calls for a 0.5‑hour relearn of the powertrain control module. Flagship One supplies a a VIN-programmed replacement unit that arrives already coded to the vehicle’s VIN, so the relearn step is already satisfied and no additional programming is required on the shop floor.
Typical signs of a failing PCM in the 1992 Mercury Tracer include intermittent stalling, unexpected loss of power during acceleration, and erratic transmission shifting. You may also notice the check engine light illuminate without a clear diagnostic code, and the vehicle may refuse to start under certain conditions.
Bulletin #92-17-01 outlines core return instructions for the Ford engine control processor used in this vehicle’s powertrain module. Bulletin #95-10-02 addresses a revised connector retention clip and seal for the ignition control module, which can affect PCM communication in distributor‑less ignition systems.
| Bulletin | Subject | What It Addresses |
|---|---|---|
| 92-17-01 | CORE RETURN INSTRUCTIONS – FORD ENGINE CONTROL PROCESSOR – POWERTRAIN CONTROL MODULE – REMANUFA | — |
| 95-10-02 | “MALFUNCTION INDICATOR LAMP” (MIL) ILLUMINATED – DISTRIBUTORLESS IGNITION SYSTEM (DIS) ONLY – I | — |
The factory book time for removing and reinstalling the PCM is about 0.6 hours, while the complete replacement may require around 1.1 hours for the 1.9L engine.
Yes, the standard procedure includes a 0.5‑hour relearn, but a Flagship One VIN‑programmed unit already has that step completed.
The module is situated behind the center of the instrument panel, and you must remove the air duct in front of it to gain access.
When the PCM fails, you can either have it repaired or replace it with a refurbished unit that matches the original specifications. For a 1992 Mercury Tracer, a Flagship One replacement offers a cost‑effective solution that eliminates the need for post‑install programming, giving you confidence that the vehicle will return to normal operation.
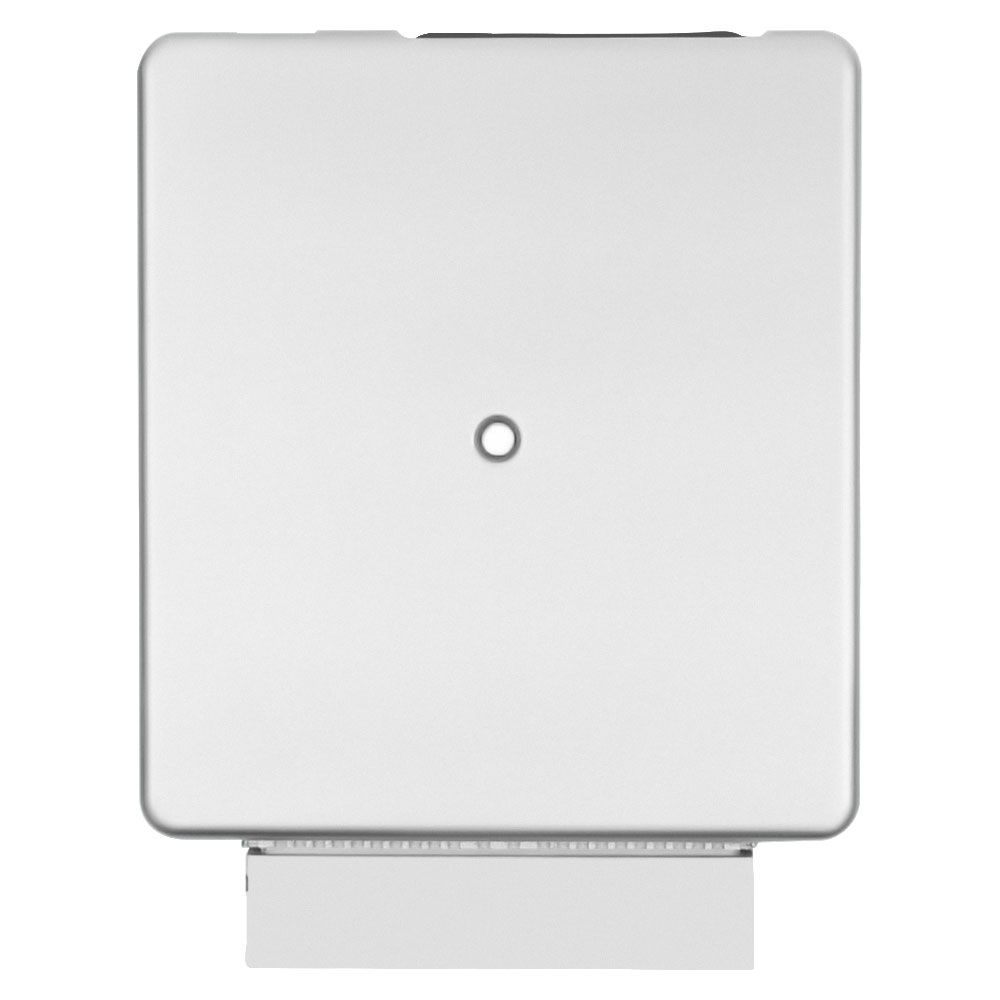
Flagship One stocks a refurbished, VIN-programmed PCM for the 1992 Mercury Tracer with a lifetime warranty, free shipping and no core charge. The full Mercury Tracer module lineup covers other engine configurations as well.
Replacing the Powertrain Control Module in your 1992 Mercury Tracer restores proper engine and transmission management. Consider a Flagship One unit for a ready‑to‑install solution that saves time and ensures reliability.